Thursday, 25 April 2013

Minotaur Topology

Part 1


Part 2


Part 3


Part 4


Part 5


I'm very happy with the outcome of the Minotaur after the first 5 steps of the video tutorials. They've taught me well on turning simply topology into more advanced shapes by adding in edges at the right places at the right times. Instead of doing one area highly detailed, do it all very simply first as it's easier to manipulate on the fly as and when you need to.

Thursday, 14 February 2013

Quick Box Modelling


a quick exercise to understand how simple topology is key to creating a better model through box modelling. I believe I understand the concept quite well and will practise with other models. 

Thursday, 7 February 2013

3D Avatar


Before smoothing

After smoothing

I've enjoyed working on this as this is where I first started using symmetry modifiers properly with my modelling and they sure save a lot of time. I feel as if the head is too big on the model though which slightly messes with the proportions. I found altering the verts on the face to put them in the right place quite tedious and difficult.

I started adding textures to the model


Wednesday, 30 January 2013

Cannon Paintover - XM-Plazma 3000


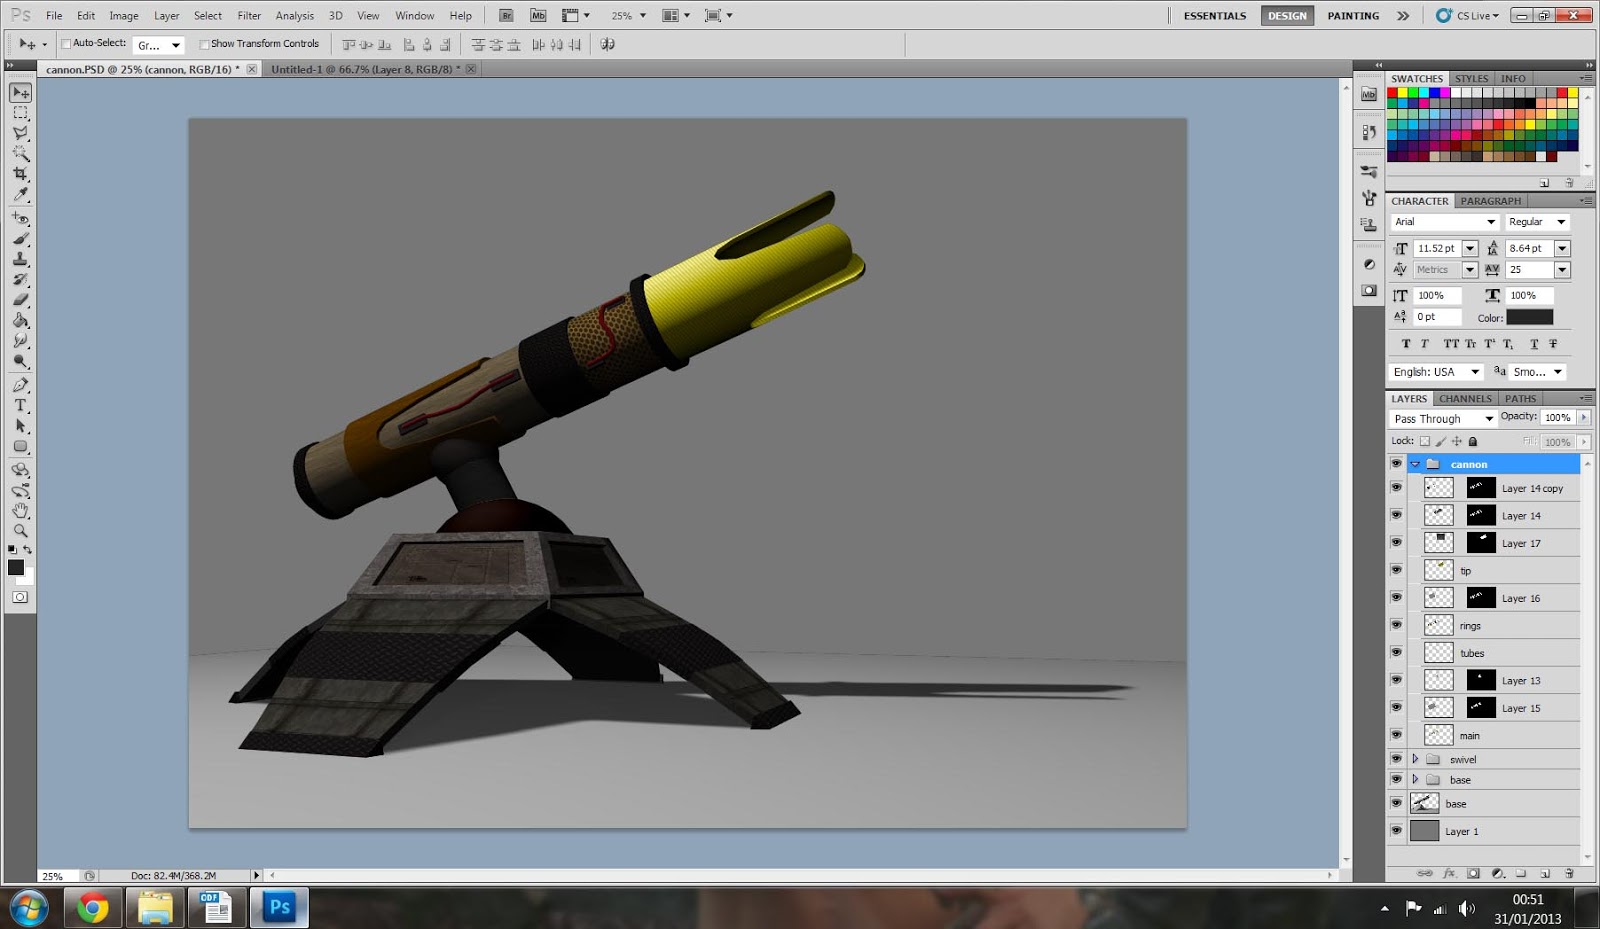
Here's the finished paintover of the 3D cannon. I'm happy with the outcome as the textures and painting I applied on top of the 3D model has kept it's lighting that I set up in Max due to the layer options in Photoshop. However, I do feel as if the lighting could have been done better to give the image a more cinematic appeal. 

WIPs of Cannon Paintover


Here you can see I have started to paint a solid colour over each section of the cannon.


After painting the solid colours.


Applying texture, skewing so it goes with the perspective of the model.


Using the warp tool to bend the texture around corners.


Warping a texture into the correct shape, maintaining perspective.


Adding text and skewing it into perspective.


Skewing textures into perspective.


Finished paintover after altering the contrast a little bit.


Cannon Render


Lighting Setup


I used 2 omni lights to light my cannon for the render. I had the main omni light above the cannon with a density of 1 and another omni light near the ground, between the camera and the cannon with a density of just 0.15 to create reflected light as some areas were too dark.